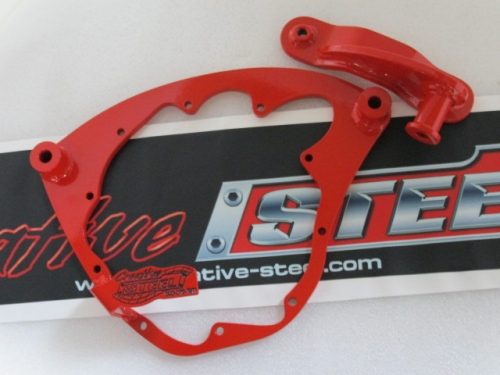
04-07 CADILLAC CTS POLYURETHANE REAR DIFFERENTIAL BUSHING
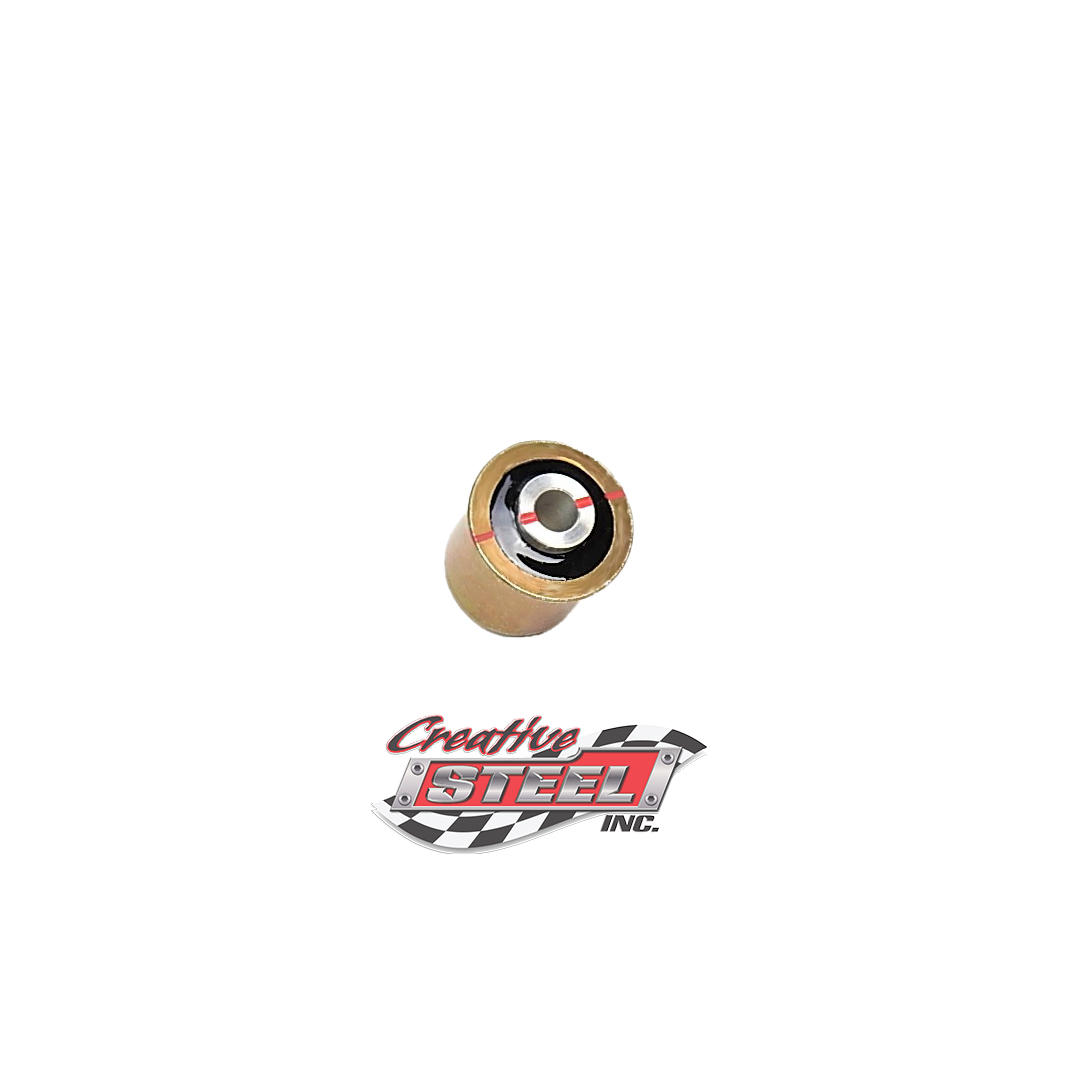
Replaces the front bushing (closest to driveshaft) in the rear differential. Only 1 needed per car.
This polyurethane differential bushing replaces the low quality, OEM CTS bushing in the FRONT of the rear differential. If there is a “clunking” sound coming from the rear of your car as you are on and off of the clutch while driving slowly, the failure of your front differential bushing is the probable cause. The material that the factory used for these bushings is very soft and they left considerable air space in the bushing and this bushing is under tremendous strain during vehicle acceleration, these three points lead to the early demise of the factory bushing.
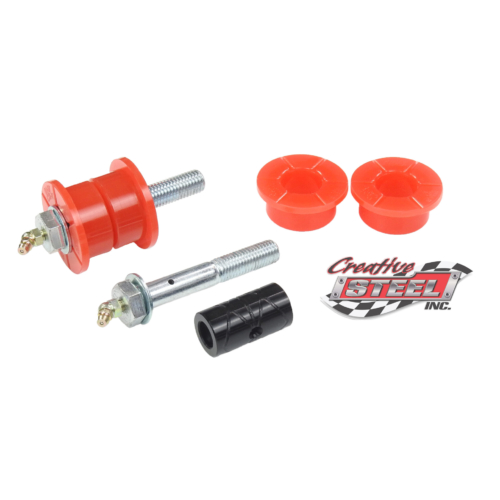
Our replacement bushing is made using a polyurethane material that is stronger that the OEM rubber and the bushing is 100% filled (no air space) which minimizes deflection between the inner core and outer shell of the bushing. The use of our bushing will add minimal (if even noticeable) noise transmission to the cabin from the rear differential. 75A is the durometer we chose for the perfect balance of strength and longevity.
In the photo with two bushings, (click on view larger image) the bushing on the right is a new OEM bushing. We posted this picture for a comparison of the two products, ours and theirs. When you remove your old bushing it will look far from what you see here, it will be painfully obvious that it has gone bad.
Mark Padilla –
I purchased this bushing instead of the OEM and I’m completely satisfied. Cadillac wanted 600.00 to change it out but I found a shop to do it for 200.00. Wow what a difference this bushing made. Awesome product
Doug W. –
I have a 2.8L with a 6 speed manual and it clunked badly at every shift. I got this bushing and the rented the tool. Did the work myself and finished in just a couple of hours. The clunk is GONE. It is much easier to shift this thing now. The tool worked great and was easy to use.
A couple of things to note, I had to remove two bolts on the drive shaft to let the front of the diff come down a bit further so I could get the tool lined to remove the old bushing. The second thing is a 21mm gear wrench ratchet would speed things up in removing and replacing the two back bolts holding the diff in place.
Did I say it shifts great now!
Dan Boerner –
I have a 2006 CTS with 3.6 liter and 6 speed trans. I bought it with 112,000 miles and it did make clunking noises when I bought it. After 15,000 miles of enduring the annoying clunking, I decided to google the problem and discovered the better bushing for the front differential mount produced by Creative Steel. Just finished the job and it took about 5 hours, with the rear wheels propped up on ramps, and working on my back. Would go much smoother it the car were on a car hoist.
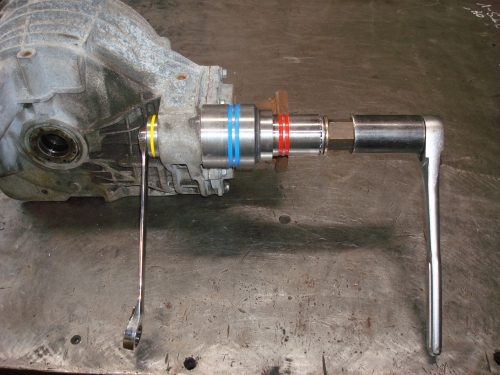
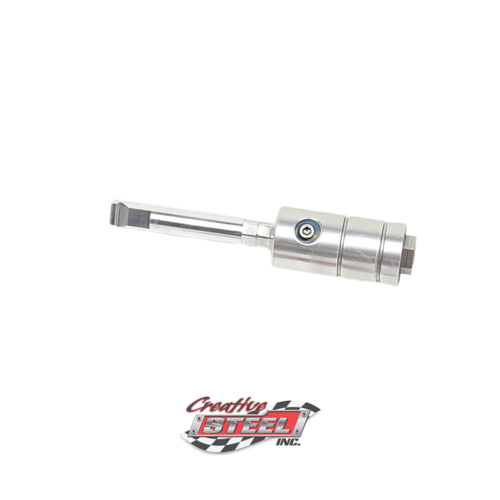
A couple of points. You need a crescent wrench, a 21 mm socket, a ½” breaker bar, a 3/4” combination wrench, and the bushing press that CS rents. I don’t see how you can do the job without the bushing press. It takes a high amount of force and effort to get the old bushing out, and the space you have to work with is very confined. I would highly suggest these additional tools, 3/8” and ½” universal socket drives joints, an second ¾” combination wrench, a 21mm combination wrench, short and long 3/8” and ½” socket extensions, a ratcheting box end 21mm wrench, and some kind of pry bar.
Some additional comments on the project, after all three of the mounting bolts are removed. Getting the bushing press tool into position is very difficult, if not impossible without disconnecting the rubber exhaust hangers at the very rear passenger side. There are three hangers and I used a channel lock pliers to get them loose. Not too hard. It will allow you to pull the right side pipe down just enough to get the bushing tool into position.
The bushing tool is designed to just barely fit into a very confined space. The passenger side of the differential may need to be pulled down so that the front differential flange will clear the frame mount. If it does clear, the bushing tool will hang up on the frame mount. You may need to use a pry bar to make this happen, or you may be able to pull down on the diff by hand. When you try to pull down on the diff by hand, try grabbing the right axle near the inboard CV joint.
When you assemble the bushing tool, you will definitely need to read the instruction included by CS. The largest pressing fixture of the tool has a notch cut out so that it can clear part of the diff. You may need to rotate the largest fixture to get the notch in the correct position. The bushing is pressed in with some force and with two ¾” combination wrenches, it took about all my strength to press out the old bushing. Pushing in the new bushing goes easier.
I had a difficult time getting the passenger side rear mounting bolt reinstalled. After it was about half way in, it started binding, feeling much like it was cross-threaded. The mounting bolt can not be fully removed as it hits the spare tire tub. I cut a hole (approx. 1.5” in diameter) in the spare tire tub so that I could get the mounting bolt out. I cleaned the threads and sprayed WD-40 in the threaded mount of the diff. I reinstalled and it went in, although still with some resistance. The left rear mounting bolt was a different story. I could almost hand spin in the bolt till it seated. The threaded mounting bosses in the diff are open on the end, which allow debris and water into the open end of the boss. If when reinstalling either of the rear mount bolts, and you experience high resistance before the bolt is near contacting the bushing, I would highly suggest removing the bolt, cleaning the threads and reinstalling, repeating more than once if necessary. You do not want to strip out the threads in the aluminum diff mounting boss.
Just took the Caddy for a ride. The clunking is gone, along with about 90% of the driveline lash. WOO HOO!!!
Dan Boerner
Brandon L. –
I just replaced this bushing after months and months of driving with the dreaded clunk in my 06 CTS. Its a job that seems scary but, is very do-able for a weekend DIYer. Unhook the driveshaft from the differential. Unbolt the 2 back bolts from the differential, unbolt the front bolt, squeeze it down between the exhaust pipes and there it is. Mine was so shot, it came out in pieces and all I had to do was take the old metal sleeve out (sawzall does the trick) Put the new bearing from Creative Steel back in, bolted it all back together and it runs like the day I bought it! Couldn’t be happier, especially saving the $600 the dealership wants to charge you! (3-4 hrs work, but that included lunch break! )
Barry Lawson –
I just replaced the diff.bushing on my 06/3.6 CTS with 160k . Overall it went very well and the shifting is like new. Before starting I checked the measurements of the new bushing against the ones provided by Creative Steel and was disturbed by the significant differences in measurements advertised. But I decided to proceed anyway. I backed the car up on a set of ramps and then jacked up and supported the front of the car on stands. Before loosening the rear diff. bolts I made and recorded some measurements from the carrier mount to the diff. then with a 1/2 breaker bar and a short 21mm socket the two rear bolts came out easily with the diff. held up by bottle jack. I also took the nut off of the bushing bolt prior to loosening the diff. I then let the jack down to where the diff. rested on the exhaust. At this point the front of the diff was cocked up to a point that made access to the bushing impossible, so I removed a heat shield and loosened the driveshaft saddle bearing and removed the rear hangers on the passenger side exhaust . At this point I had clear access to the bushing and the provided tool worked great for both removal of old and installation of new bushing which did have to be pressed in regardless of my previous concerns. I replaced the bottle jack under the diff. and using my measurement jacked the diff. back into position, all 3 bolts went back in place with no problems except with the length of the bolts and limited wrench movement space. The overall job took me about 2 1/2 to 3 hours. The bushing that I removed was missing most of its original rubber and as I said the car shifts great now. The service and the product provided by Creative Steel was outstanding and I highly recommend the tool rental.
Keith Jammin –
I have an 06 CTS 3.6 with 141K on it. The car looks and runs like new except for the clunk in the driveline. I had been dealing with the clunk and the excessive driveline lash for about 20K miles. Bought the diff bushing and the diff bushing block and had them installed by my mechanic for $300. Upon picking up the car my mechanic said the original bushing wash pretty much non existent. This repair made a world of difference. I don’t think the car ever shifted or has been this pleasurable to drive since I bought it with 17K miles on it. Money well spent to bring my car back to life and not having to worry about ruining my driveline. Thank you to Creative Steel for engineering this affordable fix to a ridiculous recurring problem in the CTS and all of the helpful hints on diagnosing and fixing it.
Chris –
Recommend this part and the installation tool. Old bushing came out and new one went in like a champ. Well the old one kind of fell out…. Included instructions on how to use the tool meant that I didn’t spend 30 minutes figuring out which piece to use where (like any normal ball joint install or bushing install kit).
Ordered this on Monday afternoon and got it in Friday (from OR to GA).
Thanks to Creative Steel for even carrying an improved part and especially for their tool rental!